Rocket.Chat on CentOS 7
This is way out of date now
The information in this post is so out-dated that I wonder why I'm keeping it around. I guess I'm a digital hoarder...

In this post, I will go over installing Rocket.Chat on a server running CentOS 7 with SELinux ENABLED as well as exposing the service through an Apache Reverse Proxy with SSL enabled.
So far, I really like Rocket.Chat. The feature set is awesome and it's a joy to use. I really like playing with the Integrations and WebHooks, but that will be saved for another post.
At first, I followed this doc on Rocket.Chat's wiki. It got me going nicely but I deviated a bit from it.
Some assumptions made
- This will be a dedicated Rocket.Chat server
- You are starting with a fresh install of CentOS 7
- You know how to generate self-signed SSL certs OR have a fancy 'real' cert
Initial Steps
First, lets get some extra repos. OH, and the following steps are done as the root user.
Getting the EPEL Repo installed:
yum -y install epel-release
Getting Mongodb's repo installed. At first, I thought this was odd because gpgcheck=0...but this is direct from the Mongodb docs:
echo '[mongodb-org-3.2]
name=MongoDB Repository
baseurl=https://repo.mongodb.org/yum/redhat/$releasever/mongodb-org/3.2/x86_64/
gpgcheck=0
enabled=1' > /etc/yum.repos.d/mongodb-org-3.2.repo
Now, update your system:
yum -y update
Finally, reboot the system:
shutdown -r now
After the system has rebooted, log back in, become root and TEMPORARILY disable SELinux. To be honest, I'm not sure we even need to do this, but the original docs mention that there are issues with SELinux and the MongoDB.
setenforce 0
Now install the needed packages to run Rocket.Chat:
yum -y install nodejs curl GraphicsMagick npm mongodb-org
Enable the MongoDB service and start it:
systemctl enable mongod.service
systemctl start mongod.service
Now that we have our repos and system up-to-date, lets add a new user who will install and run the Rocket.Chat service, as well as getting the latest release of Rocket.Chat and placing it in /opt for our rocket user.
useradd rocket
cd /opt
curl -L https://rocket.chat/releases/latest/download -o rocket.chat.tgz
tar zxvf rocket.chat.tgz
mv bundle Rocket.Chat
chown -R rocket:rocket Rocket.Chat
rm -f rocket.chat.tgz
Installing Rocket.Chat
Install some packages via npm. I did this as root because I ran into permission issues if I used the -g flag as a normal user:
npm install -g inherits
npm install -g n
The document I originally followed mentions that:
"Meteor needs at least this version of node to work."
Where 'this version' is '0.10.40'.
To me, that would imply I could use versions past 0.10.40 and be fine, but this does not seem to be the case. I've not looked into why, but using newer node versions seemed to net a lot of errors. So for now, I'll just be using the version specified in the original docs.
n 0.10.40
Now, we can use our new rocket user:
su - rocket
Change into /opt/Rocket.Chat/programs/server and run npm install:
cd /opt/Rocket.Chat/programs/server
npm install
Assuming that all goes well, we can move into setting up our Systemd service for Rocket.Chat.
Systemd Service
Here is the systemd service file I wrote up to start Rocket.Chat.
Create a new file as root with the following contents in /etc/systemd/system/ and call it RocketChat.service:
[Unit]
Description=Rocket.Chat
After=network.target

[Service]
Type=simple
WorkingDirectory=/opt/Rocket.Chat
User=rocket
Group=rocket
ExecStart=/usr/local/bin/node main.js
Restart=always
SyslogIdentifier=Rocket.Chat
Environment="BIND_IP=127.0.0.1"
Environment="ROOT_URL=https://sooperchatz.example.com"
Environment="PORT=3000"
Environment="MONGO_URL=mongodb://localhost:27017/rocketchat"

[Install]
WantedBy=multi-user.target
The bits you will need to change (assuming you've followed the doc closely thus far) are the Environment lines.
Environment="BIND_IP=127.0.0.1"-
This sets Rocket.Chat to listen on localhost rather than all interfaces
-
Environment="ROOT_URL=https://sooperchatz.example.com" -
The url that you will access Rocket.Chat from
-
Environment="PORT=3000" -
The port Rocket.Chat will listen on
-
Environment="MONGO_URL=mongodb://localhost:27017/rocketchat" - Where Rocket.Chat should look for the MongoDB
Now, just in case, run this to reload systemd so it sees our new service:
systemctl daemon-reload
Now, enable and start the new service:
systemctl enable RocketChat.service
systemctl start RocketChat.service
HTTPD (apache)
As root, install httpd and mod_ssl:
yum -y install httpd mod_ssl
I like to create a new config folder called proxies.d within /etc/httpd/ to hold any of my proxy configs. You could also just throw the config in /etc/httpd/conf.d.
If you make the new config folder, you will need to add IncludeOptional proxies.d/*.conf to the bottom /etc/httpd/conf/httpd.conf and reload or restart httpd.
The config I used is as follows (/etc/httpd/proxies.d/sooperchatz.example.com.conf):
<VirtualHost *:80>
  ServerName sooperchatz.example.com
  Redirect permanent / https://sooperchatz.example.com/

  CustomLog /var/log/httpd/sooperchatz.example.com_access.log combined
  ErrorLog /var/log/httpd/sooperchatz.example.com_error.log

</VirtualHost>

<VirtualHost *:443>
  ServerName sooperchatz.example.com

  SSLEngine On
  SSLCertificateFile /etc/pki/tls/certs/sooperchatz.example.com-cert.crt
  SSLCertificateKeyFile /etc/pki/tls/private/sooperchatz.example.com-private-key.pem

  SSLProxyEngine On
  ProxyPreserveHost On
  ProxyPass / http://127.0.0.1:3000/
  ProxyPassReverse / http://127.0.0.1:3000/

  CustomLog /var/log/httpd/sooperchatz.example.com_ssl_access.log combined
  ErrorLog /var/log/httpd/sooperchatz.example.com_ssl_error.log

</VirtualHost>
This will enforce https at the httpd level. BEWARE that if you enable 'Force SSL' in the Rocket.Chat Admin interface, you will be in a redirect loop and Rocket.Chat will no longer load!! (found that out the hard way...)
Also, be sure to update at least SSLCertificateFile, SSLCertificateKeyFile, CustomLog, ErrorLog, and ServerName to reflect your environment.
Enable and start the httpd service:
systemctl enable httpd
systemctl start httpd
Firewall
Since we are using Apache to expose the Rocket.Chat service, which is listening on localhost, we just need to open ports 80 and 443:
firewall-cmd --permanent --add-service=http
firewall-cmd --permanent --add-service=https
firewall-cmd --reload
SeLinux
Time to throw off the shackles of fear and re-enable SELinux.
setenforce 1
Also, make sure you have it set to enforcing in the config (/etc/selinux/config):
# This file controls the state of SELinux on the system.
# SELINUX= can take one of these three values:
#     enforcing - SELinux security policy is enforced.
#     permissive - SELinux prints warnings instead of enforcing.
#     disabled - No SELinux policy is loaded.
SELINUX=enforcing
# SELINUXTYPE= can take one of three two values:
#     targeted - Targeted processes are protected,
#     minimum - Modification of targeted policy. Only selected processes are protected.
#     mls - Multi Level Security protection.
SELINUXTYPE=targeted
So far I've only hit an SELinux Policy Violation due to httpd attempting to connect to the Rocket.Chat service on port 3000.
This can be fixed by running the following as root:
setsebool -P httpd_can_network_connect true
I plan to update this post if I run into any other SELinux issues.
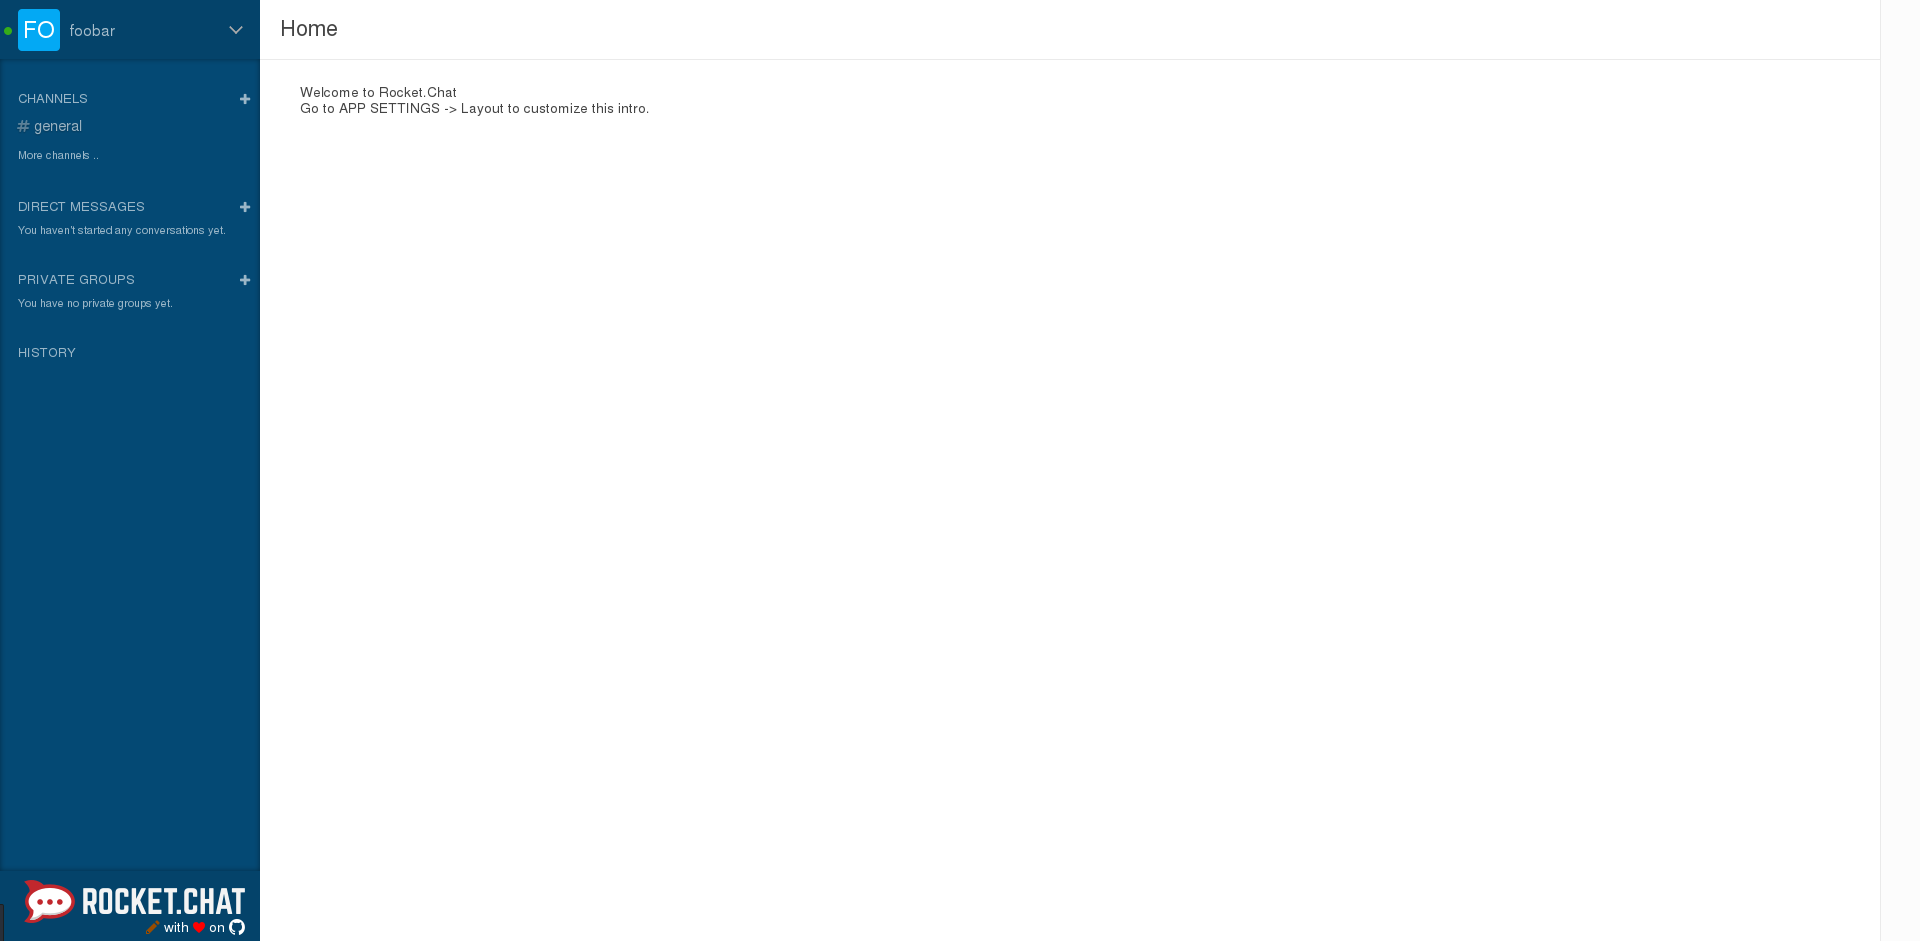
Accessing Rocket.Chat
You should now be able to access Rocket.Chat at the url you chose and create your first user. By default, the first user to register is automatically an Admin.