VirtualGL on CentOS 7 using NVIDIA Tesla GPUs
This is way out of date now
The information in this post is so out-dated that I wonder why I'm keeping it around. I guess I'm a digital hoarder...
Rather than go over how difficult this was to accomplish, and how many hours I spent attempting, I'll just layout the steps I took to complete this task.
Here is a quick example of what I was able to do with VirtualGL and X11
forwarding. According to tracepath there are 19 hops between me and this
server. I've no reference to tell me if these results are good or bad, but I
can get usable GL applications via either X11 forwarding or a VNC session.
$ vglrun glxgears
4703 frames in 5.0 seconds = 940.446 FPS
5739 frames in 5.0 seconds = 1147.739 FPS
5750 frames in 5.0 seconds = 1149.813 FPS
5748 frames in 5.0 seconds = 1149.563 FPS
5772 frames in 5.0 seconds = 1154.213 FPS
Once I figure out how to throw a video into this post I'll add a screencast. (Well...I know how to add a video...just need to figure out if I'm gonna host it direct or use the YouToobs)
For now you'll just have to trust me that glxgears in all its glory was
rendered in a window on my local machine.
The GPU
In this case, it was a Tesla K20Xm
$ nvidia-xconfig --query-gpu-info
Number of GPUs: 1

GPU #0:
  Name      : Tesla K20Xm
  UUID      : GPU-AreallyLONGstring-of-Numbers-and-Stuff
  PCI BusID : PCI:3:0:0

  Number of Display Devices: 0
I'm going to assume you've already got the drivers installed and have a GPU ready to use on your server. If someone screams loud enough, I may add that procedure to this post...but for now...LAZY!!!
For these cards, we need to check if the operation mode is set to the correct one for using them as a traditional GPU (the ones that can make pretty pictures and not just crunch numbers)
$ nvidia-smi --query-gpu=gom.current --format=noheader,csv
Compute
This card was set to Number Cruncher (Compute) so we need to change it to "All On".
# nvidia-smi --gom=0
GOM changed to "All On" for GPU 0000:03:00.0.
All done.
Reboot required.
Reboot, and your card should now be ready to pump out graphics as well as crunch the big numbers.
You (seem) to Need a Desktop Environment...
This one I did not expect, but after reading the documentation for VirtualGL, and through a lot of trial and error (...A LOT...) I finally gave in and installed a Desktop Environment, Display Manager, and Xorg on my headless CentOS 7 server.
# yum install gdm
# yum groupinstall "X Window System"
# yum groupinstall "MATE Desktop"
During the early stages of attempting to configure all this, I chose lightdm
as my display manager, but due to not understanding how VirtualGL interacts
with the display manager and the fact I couldn't get LightDM + VirtualGL to
play nice, I changed to gdm.
# systemctl enable gdm.service
OH! I also set the default target to graphical.
systemctl set-default graphical.target
VirtualGL and TurboVNC
From http://www.virtualgl.org/About/Introduction
VirtualGL is an open source toolkit that gives any Unix or Linux remote display software the ability to run OpenGL applications with full 3D hardware acceleration.
From http://www.turbovnc.org/About/Introduction
TurboVNC is a derivative of VNC (Virtual Network Computing) that is tuned to provide peak performance for 3D and video workloads.
At the time I write this, VirtualGL's latest version is 2.5.1 and TurboVNC's
latest version is 2.1
On the GPU server, install both VirtualGL and TurboVNC. The site offers RPMs, so I just pointed yum directly at them.
# yum install http://downloads.sourceforge.net/project/virtualgl/2.5.1/VirtualGL-2.5.1.x86_64.rpm
# yum install http://downloads.sourceforge.net/project/turbovnc/2.1/turbovnc-2.1.x86_64.rpm
With those installed, I configured VirtualGL. Had to stop the display manager first:
# systemctl stop gdm.service
Then I ran vglserver_config. This asks you some questions about how to
configure VirtualGL on the server. For TESTING purposes, I chose to answer
'no' to each question. I very much to do not recommend this in a production
environment, but I wanted to get this working first before I started worrying
about security.
Xorg Config Tweaks
Xorg needs a configuration that tells the system to not use the GPU as a
display device. The tool nvidia-xconfig will configure X11 for you and write
it to /etc/X11/xorg.conf.
This tool also seems to backup the existing config (if any) before writing the new one. Since I didn't care about the existing one, I removed it so I was 'starting fresh'
After determining the PCI BusID (using nvidia-xconfig --query-gpu-info or
lspci | grep -i nvidia) I ran
# nvidia-xconfig --use-display-device=none --busid="PCI:3:0:0"
Now, reboot. After the server comes back online, check if Xorg is running,
check gdm, and check to make sure you are using the right Nvidia drivers:
$ ps aux | grep Xorg | grep -v grep
root     123456  0.0  0.0 BLAH BLAH BLAH

$ systemctl status gdm.service
● gdm.service - GNOME Display Manager
   Loaded: loaded (/usr/lib/systemd/system/gdm.service; enabled; vendor preset: enabled)
   Active: active (running) since Thu 2017-01-12 08:40:05 CST; 1 day 13h ago
...blah blah blah...

$ lsmod | grep -i nvidia
nvidia_modeset        764395  2
nvidia              11488344  56 nvidia_modeset
...blah blah blah...
If either of Xorg or gdm are not running, or the drivers are not loaded, then
something is not right...
Using X11 Forwarding and VirtualGL
In my case, the GPU server is not directly available to me, so I need to use
another server to access it. This meant that I needed to use vglconnect
twice. Once to the 'middle' server, then again to the GPU server. (This also
means you will need to install VirtualGL on your local machine too)
Starting on my local machine:
[local machine]$ vglconnect -s middle-server.foobar.com

VirtualGL Client 64-bit v2.5.1 (Build 20161016)
Listening for unencrypted connections on port 4242
Redirecting output to /home/user/.vgl/vglconnect-local-machine-01-:0.log

Making preliminary SSH connection to find a free port on the server ...
Making final SSH connection ...
Now on the middle machine:
[middle machine] $ vglconnect -s gpu-server.barfoo.lan
Making preliminary SSH connection to find a free port on the server ...
Making final SSH connection ...
Finally on the GPU machine, I confirmed that I had 'direct rendering' and my glx vendor string was 'VirtualGL':
[gpu machine] $ vglrun glxinfo | head
name of display: x.x.x.x:11.0
display: x.x.x.x:11  screen: 0
direct rendering: Yes
server glx vendor string: VirtualGL
server glx version string: 1.4
server glx extensions:
    GLX_ARB_create_context, GLX_ARB_create_context_profile,
    GLX_ARB_get_proc_address, GLX_ARB_multisample, GLX_EXT_import_context,
    GLX_EXT_swap_control, GLX_EXT_texture_from_pixmap, GLX_EXT_visual_info,
    GLX_EXT_visual_rating, GLX_NV_swap_group, GLX_SGIX_fbconfig,
Finally, I tested a GL application. (again...until I get a video up here, you'll just have to trust me that a window with the gears showed up)
[gpu machine] $ vglrun glxgears
5083 frames in 5.0 seconds = 1016.484 FPS
5740 frames in 5.0 seconds = 1147.970 FPS
^C
[gpu machine] $
Using TurboVNC and VirtualGL
After installing TurboVNC on my local machine, and reading the docs and help output, I was able to use the client to connect into the middle machine, then onto the vnc server started on the GPU machine.
On the GPU machine, start the vncserver. I started it with the flag -fg to
keep it in the foreground. If this is the first time you've started the vnc
server, it will ask you to set a password:
$ /opt/TurboVNC/bin/vncserver -fg

Desktop 'TurboVNC: gpu-server.barfoo.lan:1 (user)' started on display gpu-server.barfoo.lan:1

Starting applications specified in /home/user/.vnc/xstartup.turbovnc
Log file is /home/user/.vnc/gpu-server.barfoo.lan:1.log
Make note of the output from this. You will need it for the vnc viewer.
On my local machine, I ran the following to connect up to the vnc server using the middle server as a gateway:
$ vncviewer --extssh=1 --via=user@middle-server.foobar.com --encoding=Tight --jpeg=1 --quality=30 --subsampling=4X --compresslevel=7 gpu-server.barfoo.lan:1
More info on these flags can me found using vncviewer --help. The most
useful one I've found is --extssh=1. This tells vncviewer to not use it's
internal SSH client and instead use the system's. Found this easier than
trying to get the internal one aware of my ssh keys...
If all went well, you will connect up to a desktop session of the GPU server. When I first connected, it was a very basic session consisting of a firefox session, a terminal window, and I think maybe a clock.
To use the MATE Desktop I installed earlier, I needed to create a ~/.Xclients
file with the contents exec mate-session, then chmod 700 ~/.Xclients. If
you did this after starting your vnc server, you'll need to restart it.
BEHOLD! The ONLY image in this post!! 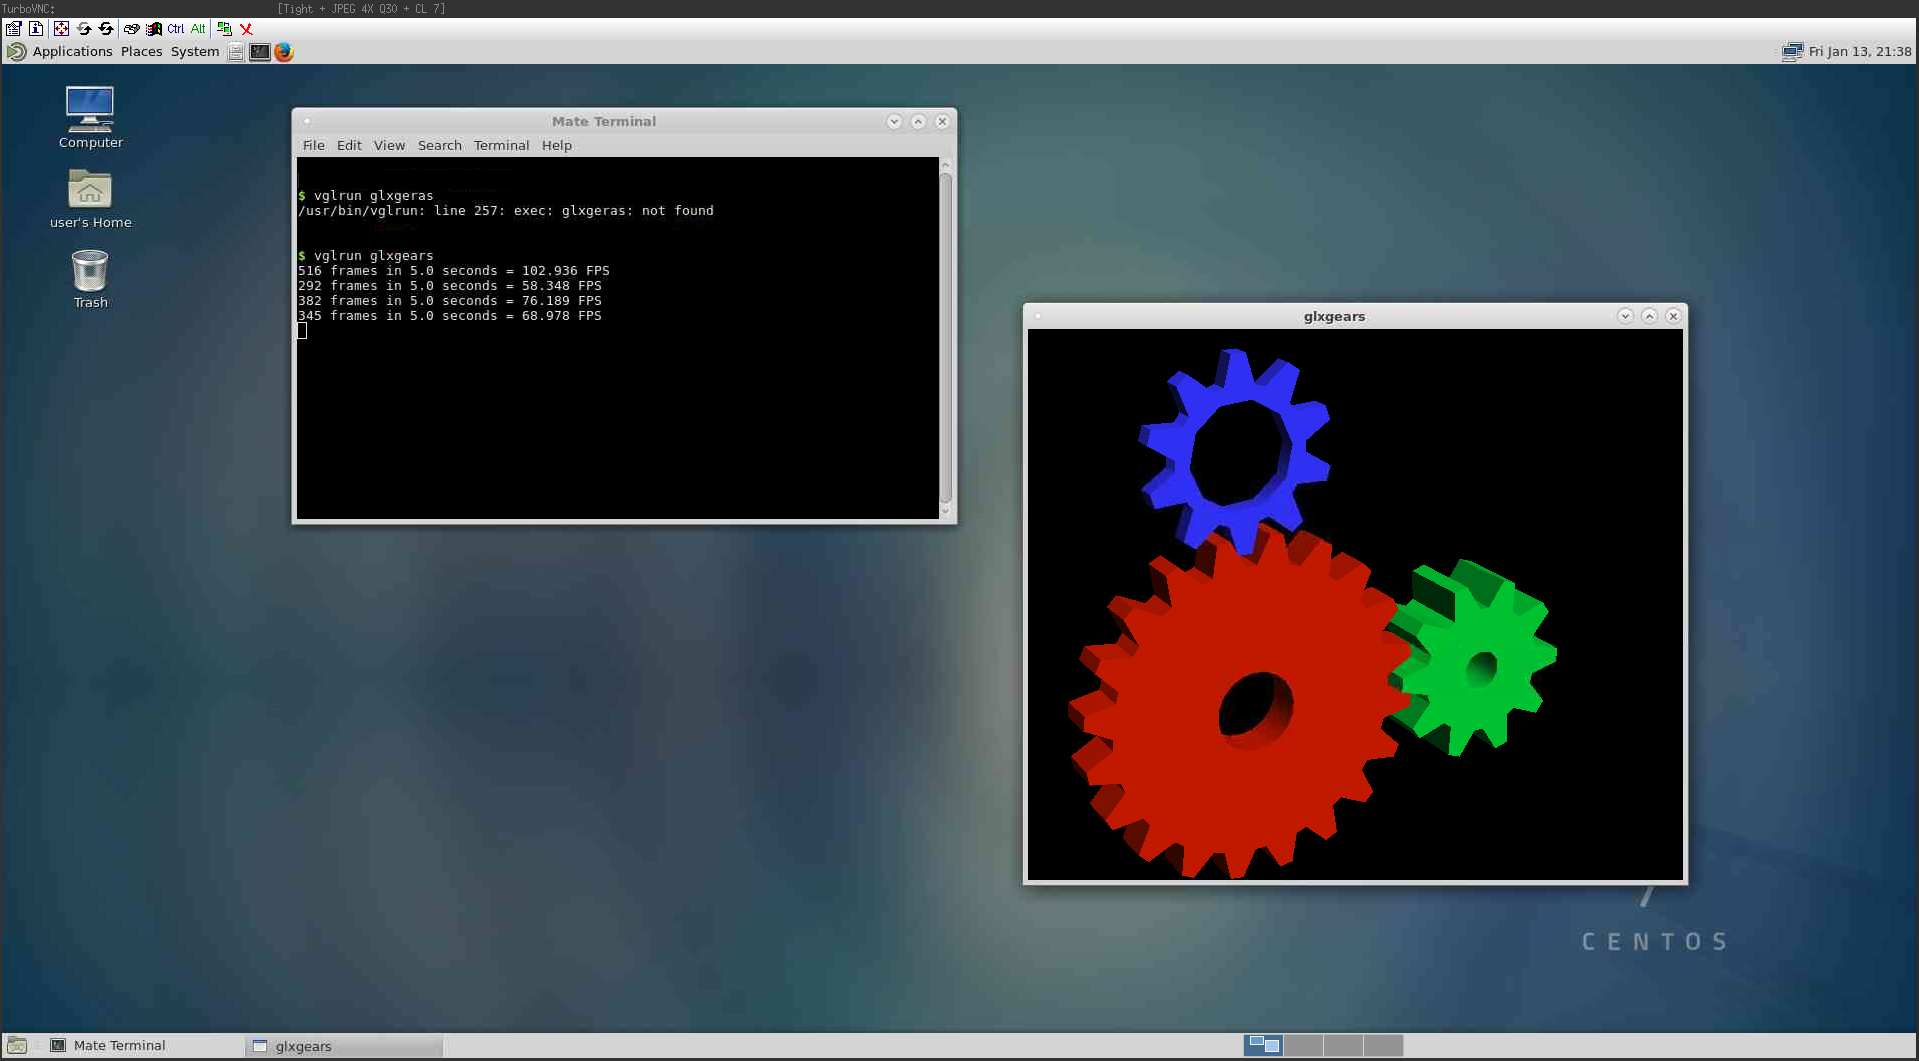
Fin
Hopefully this will help someone out there. I sure could have used a doc like this...but my Google-Fu/DuckDuck-Fu was too weak...that or a post/doc like this does not exist...